Last updated November 18, 2026



Free written scope consultation - allowances, timeline, and change-order rules on paper before a single trade is scheduled
Driveway & Pavers Troubleshooting in Winchester: Common Problems and How to Fix Them
If only the pavers near your garage apron are sinking, the problem almost certainly isn’t the pavers. It’s water channeling from a downspout that was never properly addressed at the foundation grade. Homeowners in Winchester call us about rocking pavers, spreading joints and collapsed edges every week, and the instinct is always to blame the material. Almost never the material. Most paver failures start below the surface, in the base, the drainage or the edge restraint – and the visible pattern tells you which one gave out. This guide maps the failures you can see to the causes hiding underneath, helps you tell apart problems that look identical but need completely different repairs, and gives you a pre-call inspection checklist so you can describe what’s happening accurately and get the right fix instead of a guess.
Quick Answer
Most driveway paver problems in Winchester come from three root causes: poor base compaction, failed edge restraint, or water that isn’t draining away from the slab. Frost-heave displacement, settling from a weak base, and joint sand erosion can look almost identical from standing height, but each needs a different repair – from re-sanding a single zone to excavating and rebuilding the base. A careful pattern reading before any repair is what separates a fix that holds from one that just delays a bigger bill.
Styles & brands we work with
- Kitchen remodeling
- Bathroom remodeling
- Home additions & ADU
- Roofing
- Windows & doors
- Driveway & pavers
- Fence
Table of Contents
- How do you diagnose paver problems by pattern?
- How can you tell frost heave from poor compaction settlement?
- Why do paver edges collapse and joints spread?
- Is it joint sand erosion or base wash-out?
- When does a partial paver repair actually hold?
- What should you check before calling a contractor?
- Why does Winchester’s climate stress driveways differently?
- What does a proper paver repair actually involve?
How do you diagnose paver problems by pattern?
You diagnose a paver problem by reading the shape and location of the failure, not by looking at a single loose stone. Each failure pattern points to a specific cause. A paver that rocks in place with tight joints around it is a local base problem under that stone. A whole band of pavers sagging toward one corner is a drainage or base-compaction problem across a much bigger area. A field that’s spreading outward at the edge is almost always an edge restraint failure. The pattern narrows the cause before anyone lifts a stone.
Read the driveway the same way a doctor reads symptoms. Start wide and work in:
- Walk the perimeter. Look at the outer edges first. If the driveway is creeping outward past its original line, the restraint system has given up.
- Check the low point. Find where water naturally pools. Sinking pavers near a downspout, gutter discharge or the garage apron point to water management, not the pavers.
- Press down on suspect stones. Pavers that rock underfoot but sit level in the field have voids under them. Pavers that feel solid but are lower than neighbors have settled as a group.
- Look at the joint lines. Joints that stay tight indicate the field is stable. Joints that open up in a fan pattern point to edge movement.
- Check the elevation against the house. If the driveway has dropped below the sill and the slab drains toward the house, that’s a grading issue that a paver swap won’t fix.
In Winchester, the pattern matters more than the individual paver because so much of what drives failure sits below grade. We’ve seen driveways where a homeowner replaced a dozen pavers in the same spot three times before anyone checked the base. The pattern was always there; nobody was looking at it. Once you identify the failure pattern, the repair stops being a guess.
How can you tell frost heave from poor compaction settlement?
Frost heave and poor compaction settlement look almost identical, but they need completely different repairs. Frost heave lifts pavers up and often slightly out of plane, usually in a band or patch that follows a moisture line under the surface. Settlement from poor compaction drops pavers down, drops them in a wider area, and rarely disturbs the joints as much. One shows the ground pushing up; the other shows the ground giving way. The direction of movement tells you which.
Here’s how to tell them apart at the driveway:
- Direction of displacement. Heaved pavers sit proud of their neighbors, sometimes a full finger-width. Settled pavers sit below the surrounding field. Run a straight edge across both directions and note which ones stand up and which dip.
- Joint condition. Heave tends to open joints and pop joint sand loose because the pavers are being lifted unevenly. Settlement often keeps joints intact because the field is dropping together.
- Timing. Frost-related movement shows up after a hard freeze and can partly relax when the ground thaws. Settlement from a weak base is progressive – it gets worse every wet season, steadily, not in cycles.
- Distribution. Heave is usually localized to a wet, shaded or poorly drained patch. Settlement shows up in broader zones, often where the base was thin or under-compacted at install.
Why does this distinction matter so much in Winchester? Because the region swings between hard winter cold and hot, dry summers, and that freeze-thaw cycle moves water through the soil in ways that punish a thin base. Re-laying pavers on a heaved section without addressing the water source underneath puts you right back where you started next winter. Beating settlement by just adding sand under a settled paver is the same mistake in the other direction – it hides the drop without fixing the base. The right repair follows the cause, not the symptom.
If the diagnosis points at the base rather than the surface, the fix falls under driveway & pavers work and involves lifting, re-grading and re-compacting the base course, not swapping stones. Our technicians have up to 14 years of experience reading these patterns, which is how we can usually narrow the cause down during a free estimate before anything is pulled apart.
Why do paver edges collapse and joints spread?
Edge restraint failure is the single most common cause of spreading pavers on a Winchester driveway. The edge restraint is the hidden structural member – usually a metal or plastic channel, or a concrete curb, that runs the full perimeter of the driveway and holds the outer row of pavers in place. Without a solid edge, the whole field has nothing to push against. Traffic and thermal expansion nudge the pavers outward, joints open, joint sand washes out, and the failure grows from the border toward the middle. The pavement is basically relaxing apart.
Expansive soil makes edge restraint more critical here than it is in milder climates. Expansive clay-rich desert soils swell when wet and shrink when dry. Every wet-dry cycle pushes against the restraint, and a weak or improperly anchored edge loses that fight long before a properly built one would. The right edge in expansive soil has mechanical fasteners driven into the base – typically at a tight, close spacing along the full run rather than a couple per section – because a restraint that’s only spot-anchored lifts at the fasteners and lets the field creep. The correct spacing runs the fasteners close enough that no segment of the restraint can lift between anchors. If a section between two fasteners is going to move, it will.
What to look for at the edge:
- Restraint lifting. A screwdriver tip under the metal edge should find it tight against the pavers. If the edge lifts with light pressure, the fastening has failed.
- Joint width at the border. If the outer joints are visibly wider than joints in the center, the field is spreading.
- Sand wash-out at the perimeter. Missing joint sand along the border points to edge movement flushing it out.
- Bowing. A restraint that’s bowing outward between fasteners is a ticking repair – the pavers behind it will follow.
Rebuilding the edge means pulling the outer two or three rows, setting a correctly anchored restraint, and re-setting the pavers against it. Skipping this step and just re-sanding is what leads to repeat repairs. The joints will open again with the next cycle.
Is it joint sand erosion or base wash-out?
Joint sand erosion and base wash-out both leave joints looking empty, but only one can be fixed by re-sanding. Joint sand erosion is the top layer of sand working its way down or washing off – the pavers themselves stay tight against each other and only the surface gaps look hungry. Base wash-out is water moving through the joints and scouring the bedding sand and base course underneath – the pavers sink, rock, or fan outward because there’s nothing supporting them anymore. If your pavers are stable and only the joints are low, you have sand erosion. If the pavers are moving, you have a base problem. Re-sanding won’t fix that.
Try this test before calling anyone. Pour a cup of water slowly onto the suspect area. If it drains straight through and the pavers stay put, you likely have erosion at the surface and joint sand needs topping off. If the water drains and a paver settles slightly underfoot, or if the area stays saturated after neighbors have drained, water is walking through the base. That’s wash-out, and no amount of top-dressing fixes it.
In Winchester this becomes especially relevant around the garage apron and downspout discharge. Roof water that dumps a few feet from the driveway foundation is the number-one hidden cause of local wash-out. It channels under the pavers, scours the fine aggregate out of the base, and hollows out pockets that the surface pavers can’t bridge. That’s why we open the conversation with “where does your downspout actually land?” – if the answer is “right next to the apron,” the drainage work has to happen before any repaving. Otherwise the same wash-out returns. Redirecting roof water first, then rebuilding the affected base and re-sanding, is what makes the repair last instead of looking fixed for one season.
Sand erosion repair is fast: refill the joints with the correct joint sand, compact it in, and top off again after rain. Base wash-out repair is excavation: pull the field, remove the saturated material, re-grade and re-compact the base, re-install. Two completely different bills for what looks like the same symptom.
When does a partial paver repair actually hold?
A partial paver repair is only structurally honest when the failure is local and the surrounding field is sound, the base under the repair zone is intact, and the repair blends with the surrounding pavers instead of behaving differently. Get any of those three wrong and a repair will look performed rather than lasting. The best test is a straight edge across the area: if the surrounding field is flat and stable and only a patch has moved, a targeted repair is worth doing. If the field around the patch is already creeping, spreading or settling, patching one spot is fighting the current.
Partial repairs fail for specific reasons:
- Different base under the repair. A new, correctly compacted base under the patch will settle differently from an old, under-compacted base around it. The repaired section will start to drift relative to the field. If you’re repairing the base under one zone, the base under the transition rows has to be assessed too.
- Joint discontinuity. Joints inside the repair that don’t line up perfectly with joints in the field let sand wash through the seam and open up a new failure line at the boundary.
- Restraint mismatch. If the surrounding field is still anchored to a failing edge restraint and the new patch is anchored properly, the movement between them stresses the seam.
- Paver wear or color difference. Old pavers and new ones settle in together over time, but if you’re matching a Belgard collection or another brand-specific profile, the replacement paver may need to come from the same manufacturer and give the surrounding field a chance to re-tighten.
Where a partial repair is safe: a single heaved section from a compacted local root cause, a small wash-out with a clear drainage fix that addresses the source, or an isolated damaged paver. Where a partial repair is a mistake: a spreading edge across a broad run, a driveway that’s settled as a whole, or a base failure that runs under the repair zone. In those cases the structural conclusion is “rebuild the affected run,” and a patch will send you back for round two.
This is where knowing the difference saves real money. Patching a symptom when the root cause is still active just buys a season. Rebuilding the run when a small targeted fix would do wastes budget. We’d rather tell you which one you’re looking at before you spend a dime.
What should you check before calling a contractor?
Run this inspection before you call. It takes about ten minutes and gives you a description specific enough that we can tell you what kind of repair you’re most likely facing before the visit, and it usually saves you paying for a diagnostic you don’t need. Write down your answers – the specifics are what make the estimate accurate.
- Map the sinking zones. Note where the pavers have dropped, how big the area is, and whether the drop is a single point or a broad band. A sketch or a phone photo with a thumb in it for scale is gold.
- Note the pattern. Are pavers rocking in place, spreading outward at the edge, or sinking in a line? Rocking in place points down. Spreading points to the edge. Sinking in a line points at water.
- Trace the downspouts and gutters. Write down where each roof downspout discharges. If it lands within a few feet of the driveway, note it clearly – this is the most common hidden source of wash-out around the garage apron.
- Look at the wet-season behavior. Which spots pool after rain? Which spots are dry first? Note any area that holds water for more than a day.
- Test the edge. Press down on the outer two rows along the driveway perimeter. Note any place where the pavers move under finger pressure or the metal edge lifts.
- Check the elevation against the house. If there’s any slope toward the garage, foundation or front door, note it. Positive drainage away from the structure matters for the house, not just the driveway.
- Look at the joints. Compare joint width at the border to joint width in the middle. Wider at the border means edge failure. Empty joints everywhere means sand erosion or wash-out.
- Note age and recent traffic. Newly built driveways that settle early point to base compaction. Older driveways that fail slowly point to gradual wash-out. Any recent heavy deliveries, construction equipment or new landscaping overhead are relevant – note them.
Bring that list to the call. If you can say “the outer two rows on the east side are spreading, the downspout from the garage lands within three feet of the apron, and the whole southeast corner settles after rain,” you’ve given us more diagnostic information than a site visit to the wrong spot could. That accuracy is why an estimate takes less time when the homeowner has already done the reading.
Why does Winchester’s climate stress driveways differently?
Winchester sits in a climate that gives driveways two very different tests in the same year. Winter cold drives frost into the ground, and summer heat pulls moisture out of it. That freeze-thaw and wet-dry cycle pushes and pulls on pavers, joint sand and base material all year long. It’s why so many failure patterns here look alike – both frost heave and compaction settlement show up as uneven pavers – and why the repair has to account for what the ground is doing, not just what the surface looks like. A driveway that survives a Southern California coastal climate with nothing more than occasional re-sanding can fail here in a decade for reasons that are entirely below grade.
Add the expansive soils common to the valley areas around Winchester and the equation gets more demanding. Clay-heavy soils swell when they take on water and shrink when they dry out. Every wet-dry cycle presses against whatever’s holding the driveway in place. That puts more stress on the edge restraint, on the compaction of the base, and on the drainage that keeps water from settling into the subgrade. The three things that matter most in a driveway that holds up in Winchester are the three things you can’t see from the surface: the base, the drainage, and the edge. Get those right and the pavers do their job for a very long time. Get any one of them wrong and the visible failures show up years later, often all at once.
Practical implications for repair planning:
- Address drainage before pavers. Any repair should start with getting roof water, surface water and irrigation runoff away from the driveway. Fix the cause before rebuilding the surface.
- Rebuild the base, not just the bedding. Repairs that only lift the top sand layer don’t survive the first wet-dry cycle in expansive soil.
- Anchor the edge correctly for the soil type. Fastener spacing and edge choice have to account for soil movement, not just the model of restraint.
- Expect joint sand to need periodic topping off. That’s maintenance, not failure, in a climate that cycles moisture this hard.
Because the failure tends to arrive in clusters, a homeowner who notices one issue often finds three. If a driveway repair is part of a wider exterior push – new front walk, a fence reset, a driveway replacement as part of a bigger project – keeping it under one contractor relationship means the drainage, grading and hardscape all get planned together. See our fence installation work for one piece of that exterior envelope, and home additions & ADU if the driveway changes are tied to a bigger structural project.
What does a proper paver repair actually involve?
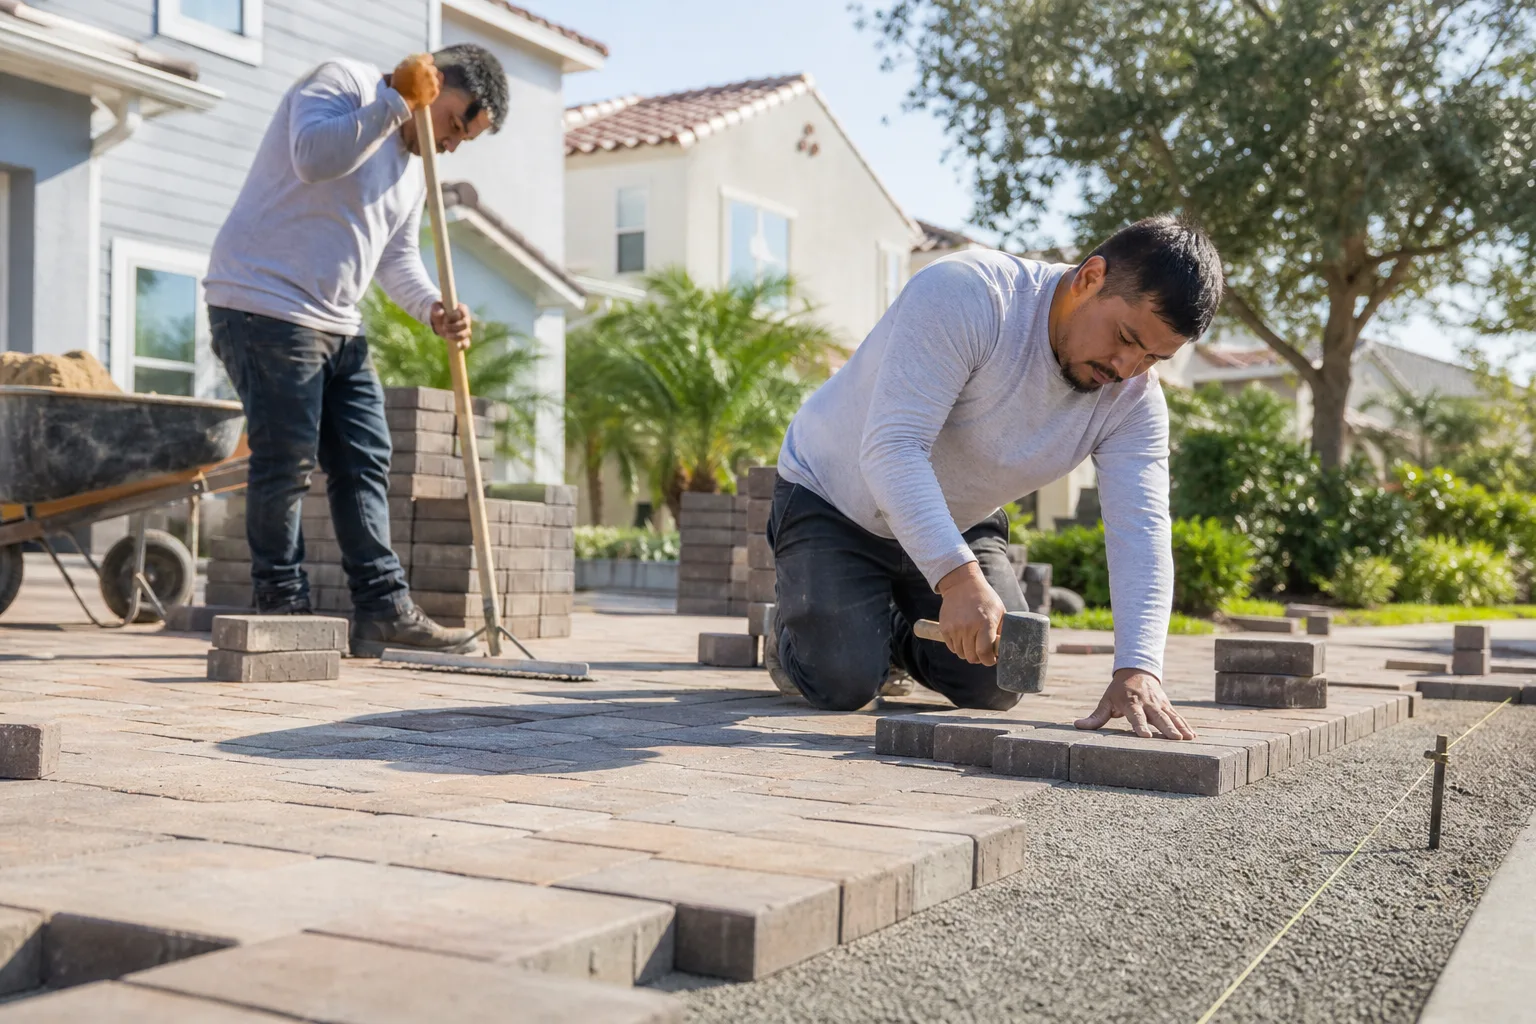
A proper paver repair follows a fixed sequence: diagnose the pattern, fix the drainage, rebuild the base, re-set the pavers, re-anchor the edge, replace the joint sand, and compact. Skip a step and the repair behaves like the failure it was meant to fix. Here’s what the sequence looks like on a typical Winchester driveway.
- Investigate before lifting a single paver. Confirm the failure pattern, identify the water source, and map the full extent of the base failure. A repair zone that stops too short just moves the failure line.
- Fix the source. Redirect downspouts, correct the grading, or install drainage so water leaves the area before it can sink into the base again. No surface repair survives water walking underneath it.
- Pull the pavers carefully. Lift and stack the pavers to reuse the ones in good condition. Note the brand and profile – if some need replacing, matching the original supplier matters, and paver collections from Belgard, Unilock, Techo-Bloc or Tremron don’t always cross-match cleanly.
- Excavate the failed base. Remove saturated, uncompacted or contaminated base material down to stable subgrade.
- Re-grade and re-compact the base in layers. This is where a driveway either holds for decades or fails again. Compaction happens in lifts, not all at once.
- Set the bedding layer and re-install the pavers. Matching the field pattern and joint alignment.
- Re-anchor the edge restraint. Mechanically fasten or reset the edge for the soil conditions, with spacing that keeps the restraint tight against the field.
- Fill joints and compact the field. Correct joint sand, compacted in, topped off and settled in. Final walk-through with a straight edge to confirm flatness.
The order matters because each step is what makes the next one last. Surface-only repairs skip steps and look fine for a season. Complete repairs hold because the underlying cause is gone. That discipline is the same one we bring to every phase of a project, from the driveway to the roofline, and it’s why we work with named manufacturers across every trade – you choose the product, we handle the build. Paver and hardscape brands like Belgard, Unilock, Techo-Bloc and Tremron give real options when replacement pavers are needed, and our technicians have up to 14 years of experience reading these failure patterns before a wrench is turned.
Common Mistakes to Avoid
- Re-sanding over a base problem. If pavers are moving, not just the joints, sand is a cosmetic covering. New joint sand over a washed-out base washes out again within a season and the underlying settlement keeps growing.
- Replacing the same pavers a third time. If the same spot keeps sinking, the paver is not the problem. The base or the drainage under that spot is – and no amount of new stone will fix it.
- Adding sand under a single settled paver. Lifting one paver and adding bedding sand feels like a fix. It’s the wrong direction for a compaction problem and just hides the drop until the next wet season.
- Ignoring the downspout. Roof water within a few feet of the garage apron is the number-one hidden cause of wash-out in a Winchester driveway. A surface repair without moving that water away won’t hold.
- Using unmatched replacement pavers. Mixing a Belgard paver into a Techo-Bloc field almost never looks right, and it may not even be a compatible size. Get the brand and profile before ordering replacements.
- Anchoring the edge with too few fasteners. In expansive soil, edge restraint with sparse fasteners will lift between anchors and let the whole field spread. The fastening has to be tight enough that no segment can move.
- Skipping the permit question on full replacement. A repair is one thing; full driveway replacement may require permits in some Winchester and county situations. Ask your building department before the work is scheduled, and use a contractor who pulls permits and passes inspection.
Once you’ve diagnosed the pattern, the repair follows. If the driveway is part of a larger exterior program, Construction Winchester handles every phase under one contractor relationship, so the driveway, fence and structure get planned together rather than coordinated between three vendors.
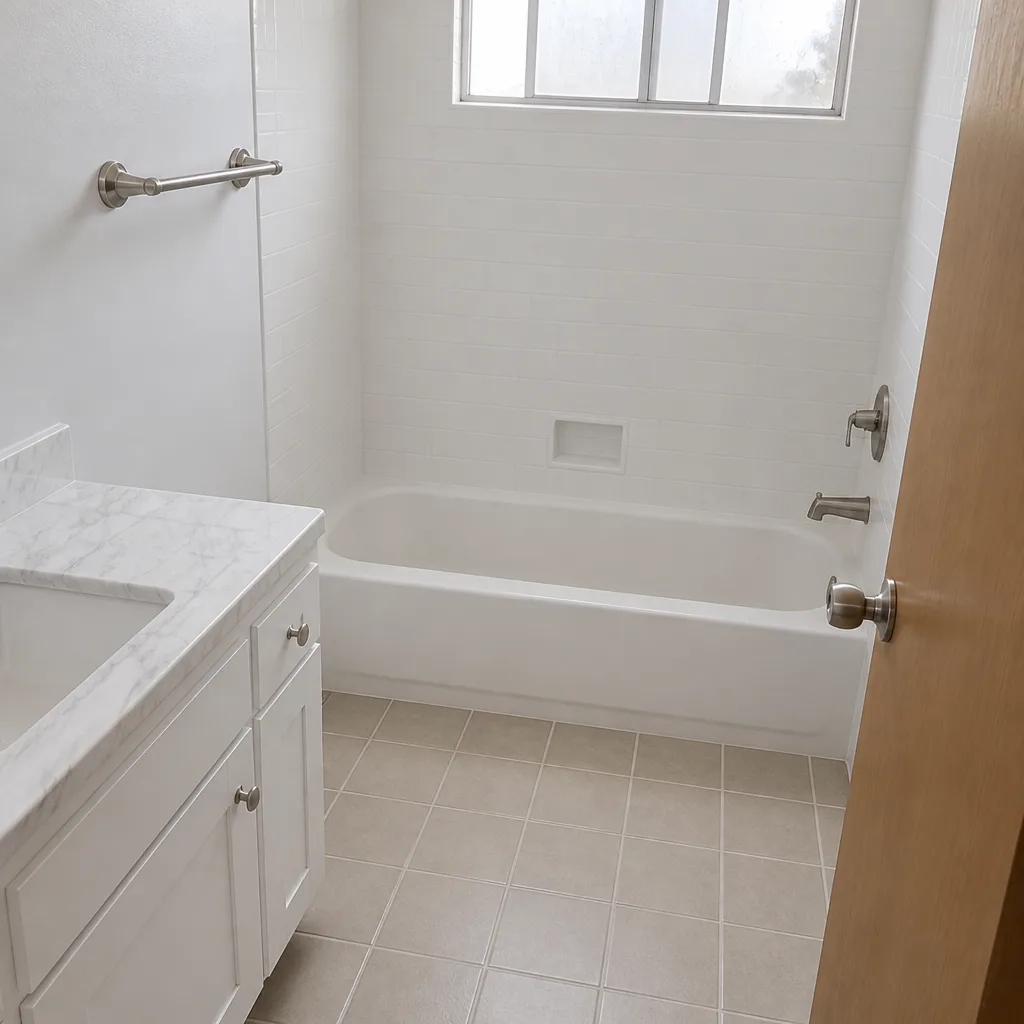
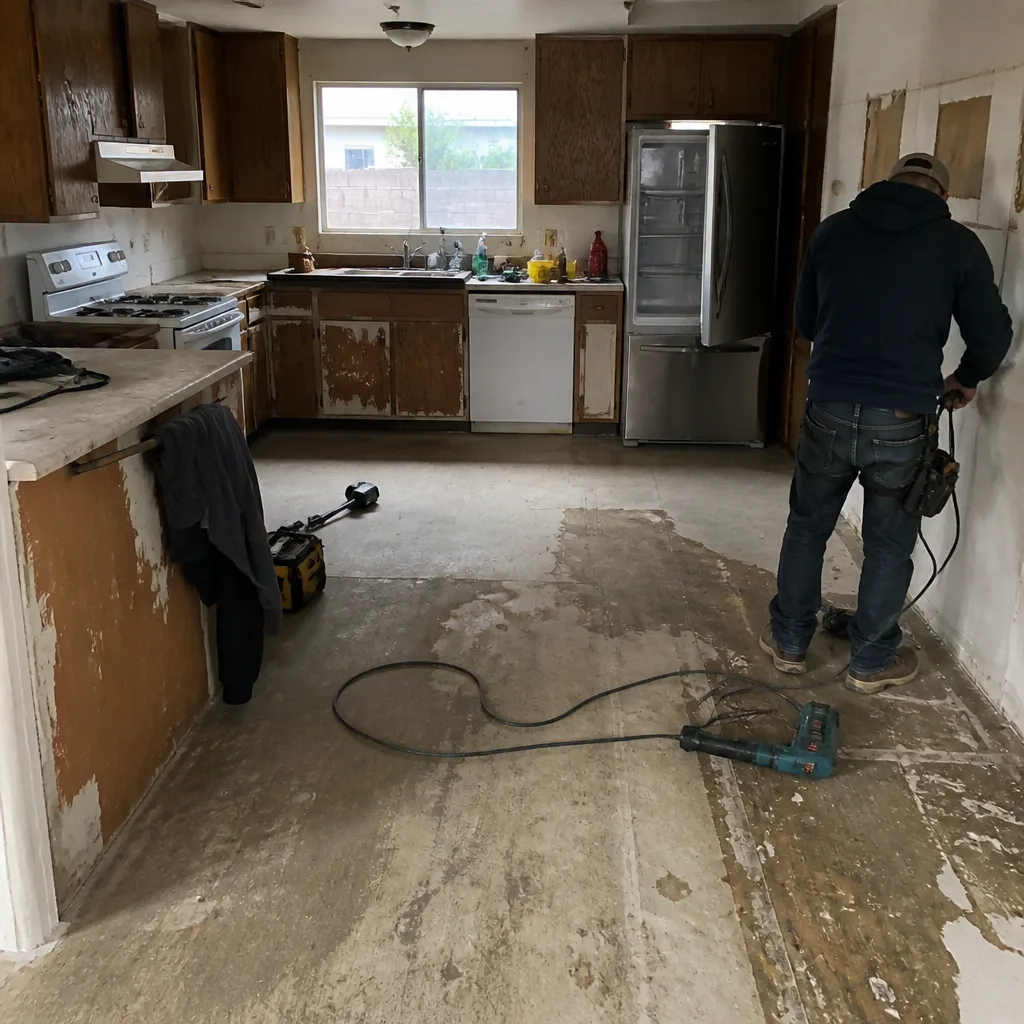
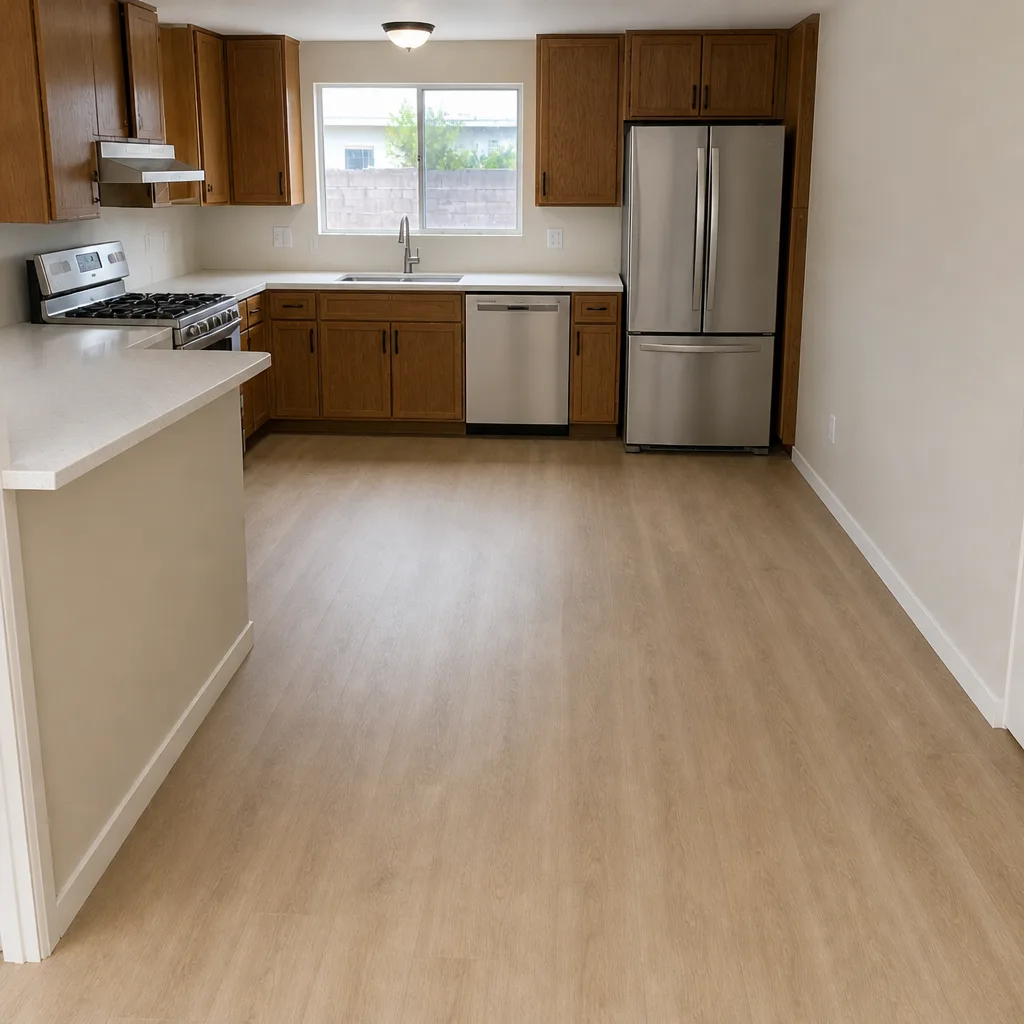
See the difference
 Before
 After
 Before
 After
 Before
 After
When to Call a Professional
Call a professional if the pavers are actually moving – rocking underfoot, spreading at the edge, or settling in a broad area that keeps getting worse. These are structural indications, and surface fixes won’t resolve them. Call if any paver has broken under a wheel, if the outside edge has lifted or bowed, or if your driveway slopes toward the garage or foundation and water pools against the structure. Call if the same spot has been repaired twice and keeps failing. And call if you’re planning a full driveway replacement, since that’s a job that may need permits and inspections that have to be planned from the start. Construction Winchester offers free estimates in Winchester – call (888) 345-2603 to schedule one. We answer 24/7. Fast dispatch from 7am to 7pm, Sunday through Friday. Bring your inspection checklist and we’ll walk through the diagnosis with you.
Frequently Asked Questions
Sinking and shifting pavers almost always trace to a base or drainage problem, not the pavers themselves. Water walking under the surface erodes the base, pavers lose support and either settle or rock as the field spreads. In Winchester’s freeze-thaw and wet-dry climate, a thin or under-compacted base fails faster than in milder climates. Call (888) 345-2603 for a free estimate and we’ll diagnose the pattern.
Paver repair pricing depends entirely on the root cause, so there’s no single number. A joint-sand and re-compaction fix is a fraction of the cost of a base rebuild, and a full edge restraint replacement falls in between. The written estimate sets the price, and we give it free after we diagnose the pattern on site. Call (888) 345-2603 to schedule the estimate – we’ll walk you through the ranges before any work starts.
Yes, frost heave can lift pavers, and it looks different from settling once you know what to look for. Heaved pavers sit proud of their neighbors and typically open the joints around them; settled pavers sit below the field and often keep their joints intact. Frost heave usually shows up after a hard freeze in a wet or shaded patch; settlement progresses steadily through wet seasons. If you’re unsure which you’re seeing, call (888) 345-2603 – we can usually tell from your description.
Not when the scope is set correctly from the diagnosis. Our estimates are fixed per job and written out line by line, so the repair you agree to is the price you pay, with no change orders once the work is underway. That’s why we invest the time in diagnosing the cause first – a vague scope is what leads to surprise costs later. Call (888) 345-2603 for a free written estimate.
Yes – when a project needs a permit, we handle the permitting and inspections as part of the job. Whether a specific driveway requires one depends on scope and local rules, so the first move is to ask your building department, and we’ll confirm during the estimate. Call (888) 345-2603 and we’ll explain what your project likely needs.
Joint re-sanding on a stable field is typically a small job done in a single visit. Base rebuilds and edge restraint work take longer because the base has to be excavated, re-graded and re-compacted in layers, and the pavers re-set and re-filled. The estimate gives you a specific timeline for your driveway. Call (888) 345-2603 to schedule.
The Bottom Line
Pavers don’t fail on their own. The base, the drainage and the edge restraint fail, and the pavers just show you where. Read the pattern before you repair: sinking near the garage apron or downspout means water, spreading at the edges means restraint, and uneven pavers on a wide area mean compaction. Re-sanding fixes joints only. Base rebuilds fix base failures. Edge repairs fix spreading. And a partial patch only holds when the surrounding field is sound. Run the inspection checklist, note the pattern and the water paths, bring that to a contractor, and the repair is a decision instead of a guess. Built to stay, not just to look good, is what a correct repair delivers.
If your driveway has given you reason to call, do it with confidence. Construction Winchester gives you free estimates, written line-item quotes, fixed pricing with no change orders, and we pull permits and pass inspections where they apply. Call (888) 345-2603. We answer 24/7. Fast dispatch from 7am to 7pm, Sunday through Friday.
Written by the team at Construction Winchester.