Last updated November 18, 2026

Free written scope consultation - allowances, timeline, and change-order rules on paper before a single trade is scheduled
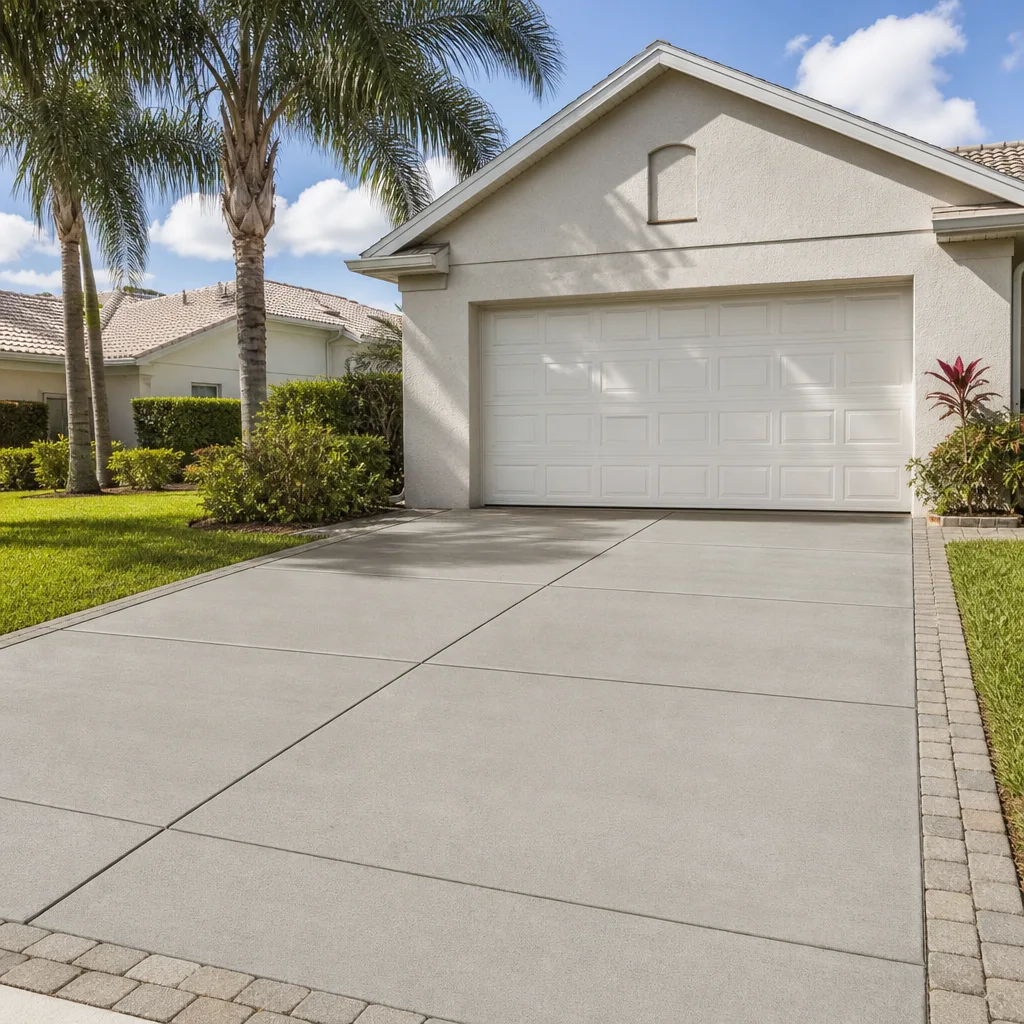
Driveway & Pavers Maintenance Checklist for Winchester Homeowners
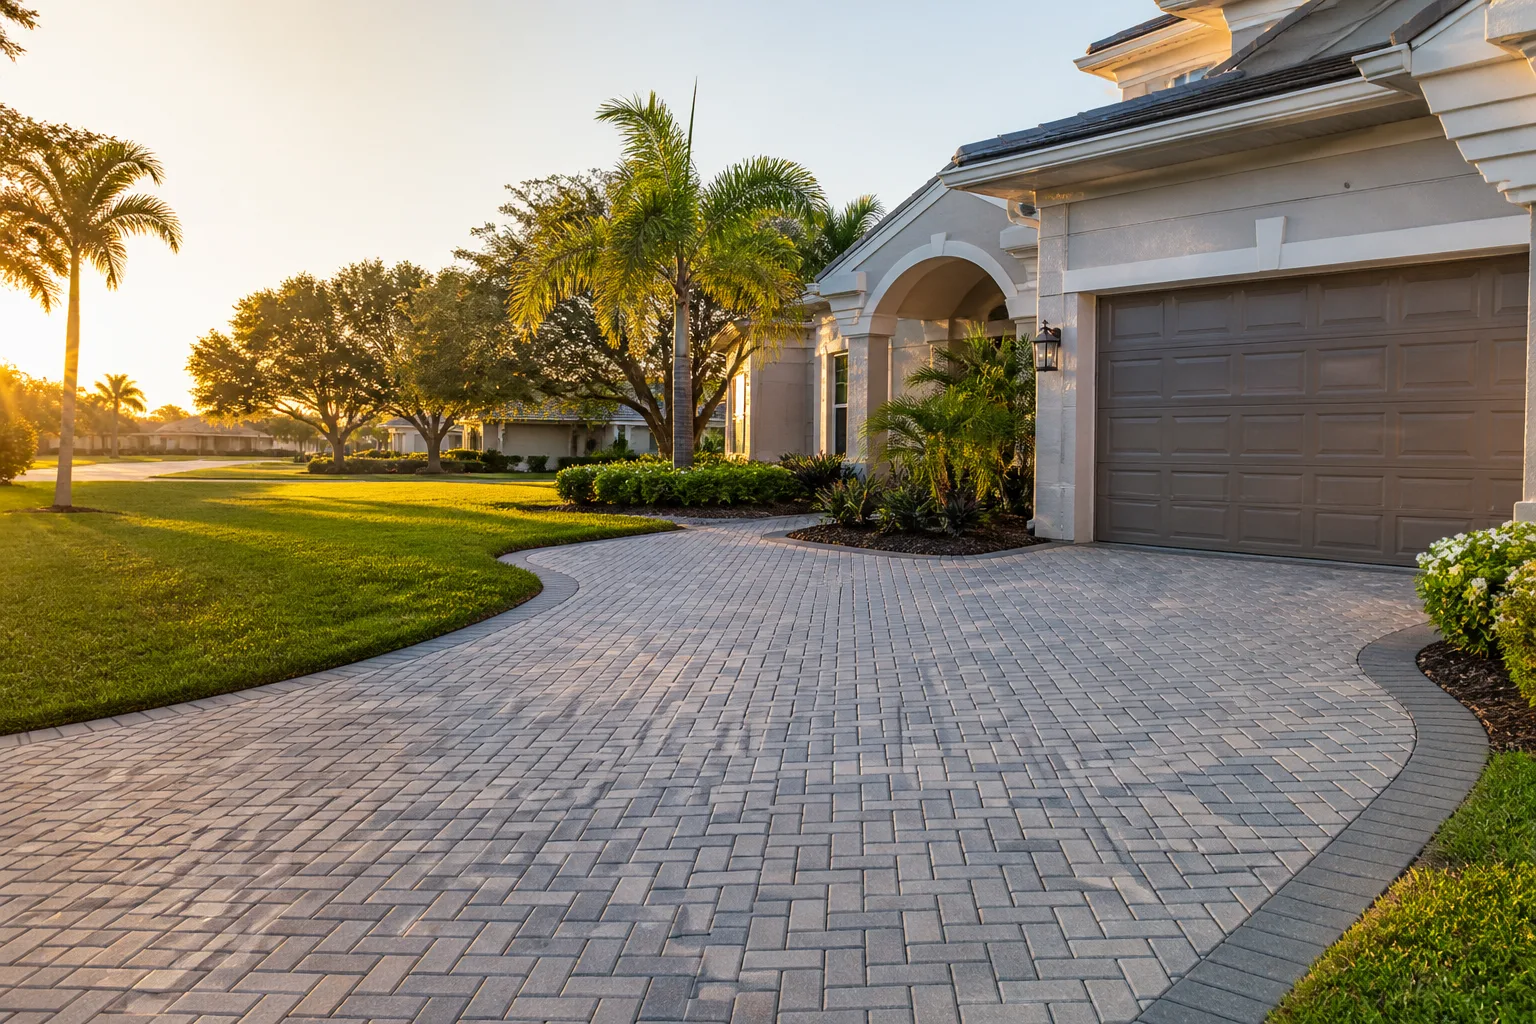
A paver driveway that looks flawless in March can show joint erosion, edge shifting, and white efflorescence bloom by October. That’s rarely a materials problem. In Winchester, it’s almost always a base problem: caliche soil that doesn’t drain, surface temperatures that push past 115°F in direct summer sun, and the handful of intense desert rainstorms that find every shortcut an installer took. The desert doesn’t gradually wear a driveway down the way wet climates do. It stresses it in cycles, and the failures cluster around the transitions. This checklist walks you through what to inspect each season, how to test whether your sub-base is holding, when re-sanding and re-sealing actually matter here, and the point where a DIY fix stops being the honest answer.
Quick Answer
A Winchester paver driveway needs a spring inspection for heave and joint-sand loss, a summer check that your sealer is still repelling water, joint sand topped up at least once a year, and re-sealing every two to three years rather than the longer intervals printed on most labels. Any shifting that spans more than one or two pavers, or cracks that return after repair, usually points to sub-base compaction failure under the caliche layer, and that’s a full re-pull rather than a patch job. A free written estimate tells you which category you’re in before you spend anything.
Styles & brands we work with
- Kitchen remodeling
- Bathroom remodeling
- Home additions & ADU
- Roofing
- Windows & doors
- Driveway & pavers
- Fence
Table of Contents
- Spring Inspection: Heave, Joint Sand, and Winter Temperature Swings
- Summer Check: Is Your Sealer Still Working, or Just Shiny?
- How to Test for Sub-Base Compaction Failure
- Re-Sanding and Re-Sealing Intervals for Desert Climates
- What Intense Desert Rainstorms Do to a Driveway
- What a DIY Repair Can Fix, and What It Can’t
- Choosing Replacement Pavers That Match and Last
- What Driveway and Paver Maintenance Costs in Winchester
Spring Inspection: Heave, Joint Sand, and Winter Temperature Swings
Spring is the first honest look at your driveway after months of temperature cycling. In Winchester, winter nights drop below freezing while afternoon sun can pull the same surface back up into the sixties, and that freeze-thaw rhythm works on every joint and edge in the pavement. It doesn’t crack pavers the way frost heave does in wet climates, but it does loosen the sand between them and lift edges where the base wasn’t locked tight. Walk the driveway before the first hot week and you’ll catch most of it cheaply.
Here’s the spring inspection sequence we walk homeowners through:
- Walk the full perimeter. Look for pavers sitting proud of their neighbors by a quarter inch or more. Isolated high spots near the edges are usually sand loss. High spots in the middle of the field point down, not up.
- Check joint sand depth on a straight edge. Joints should sit roughly an eighth inch below the paver surface. If you can push a screwdriver blade in past the chamfer, the sand has washed or blown out.
- Look for efflorescence. The white, chalky bloom is mineral salts migrating to the surface. It’s cosmetic, but it also tells you moisture is moving through the pavement when it shouldn’t.
- Test drainage at the garage apron. Pour a bucket of water at the low point. It should run off within a minute. Water that pools against the slab is a grading issue, and it’s the single most common cause of foundation-adjacent paver settlement in Winchester.
- Check the edge restraint. The plastic or concrete border holding the field in place should be tight against the pavers. Gaps there let the whole field creep outward over a summer.
If everything passes, you’re done until summer. If joint sand is low, topping it up now costs very little and prevents the summer problem where loose pavers rock and grind against each other. That grinding is what rounds the edges and eventually makes the pavement look worn out long before the stone itself has failed.
Summer Check: Is Your Sealer Still Working, or Just Shiny?
Most homeowners judge their sealer by the sheen. That’s the wrong test. A film-forming sealer in Winchester can look glossy and still have stopped repelling water, because what breaks down in desert sun is the chemical water resistance, not the shine. UV exposure at surface temperatures past 115°F degrades the polymer over two to three summers, and by the time the gloss fades visibly, you’ve already lost a season of protection.
The water test beats the eye test every time:
- Drop, don’t spray. Put a cup of water on the pavement in three or four spots and watch. Fresh or working sealer beads the water and it rolls off. Failed sealer lets it soak in dark and go dull within a minute or two.
- Check the traffic lanes separately. The area between the street and the garage door gets the most UV and the most tire abrasion. It will fail first, and a driveway that passes the water test near the edges can fail in the middle.
- Look for chalking. Rub a dry white cloth across the surface. A chalky white residue means the sealer is breaking down and starting to powder rather than protect.
- Inspect for hot-tire marks. Dark streaks where tires sat on a hot day are a sign a film-forming sealer is softening under heat. A penetrating sealer doesn’t do this.
Summer is also when loose pavers get worse fastest. A single rocking paver in April will have pounded its bedding sand out of place by August, and the paver next to it starts moving too. If you find movement, fix it before the monsoon season rather than after. That’s the practical reason we walk driveways in early summer with homeowners who are planning a bigger project like a home addition or ADU, because the driveway access and grading usually need attention on the same schedule.
How to Test for Sub-Base Compaction Failure
Sub-base compaction failure is behind most paver shifting in Winchester, and it’s the failure homeowners most often misdiagnose as a paver problem. The pavers themselves are almost never the weak link. Underneath them, the standard build is a compacted aggregate base over the native soil, and in much of the Winchester area that native soil is caliche: a cemented, calcium-carbonate-rich layer that sheds water instead of absorbing it. If the installer didn’t break up and re-compact properly through it, or didn’t build enough base depth above it, the pavement sits on a surface that can’t drain and can’t stay locked. Then a rainstorm saturates the base, the soil beneath softens, and the field sags.
You can test for developing failure without digging up the driveway:
- The hollow-tap test. Tap each paver with a rubber mallet or the handle of a screwdriver. A sharp, solid click is good. A hollow thud means the bedding sand beneath has voided out.
- The two-paver test. Stand on one paver and press down with your heel on the one next to it. If the neighbor moves independently, the interlock is gone and the sand layer is failing.
- Map the pattern. Note where the movement is. Isolated pavers near an edge point to edge restraint or sand loss. A cluster in the middle of the field, or a line of movement running across the driveway, points to the base.
- Watch the water after a storm. Note where puddles form and how long they last. Standing water that reaches the base course is the mechanism of failure, not just a nuisance.
- Check for a ridge or dip along the garage apron. Settlement right at the slab edge usually means the transition detail was built wrong, and it’s the most consequential place for a base problem because it sends water toward the house.
If the pattern is diffuse and the movement is shallow, re-sanding and re-setting a few pavers is reasonable. If the pattern tracks across the field or the pavement has developed a visible wave, no amount of surface work will hold, because the surface was never the problem.
Re-Sanding and Re-Sealing Intervals for Desert Climates
Manufacturer labels often print re-sealing intervals of five years or more, and in Winchester those numbers are optimistic. They’re written for temperate climates with moderate UV and reliable moisture. Desert conditions age sealers faster because UV exposure is continuous and the surface runs hot, and they age joint sand differently because the sand isn’t being washed out by steady rain, it’s being blown out and vibrated out over a long dry season. Our practical interval here is shorter than the label.
- Joint sand: top up at least once a year, and expect to do a partial top-up mid-season in high-traffic lanes. Full re-sand of all joints every three to five years.
- Penetrating sealer: reapply every two to three years. Do the water test each spring, and let that decide rather than the calendar.
- Film-forming sealer: reapply every two to three years, and expect the high-traffic lanes to need it first. Strip and reapply rather than layering, because old film that’s breaking down traps moisture underneath.
- Efflorescence treatment: as needed, not on a schedule. Treat it when it blooms, then find the moisture source.
The other desert-specific point is timing. Sealer applied when the pavement is too hot cures badly and can cloud or blister. In Winchester, the practical window is a morning when the surface is cool and the forecast is dry for the next day or so. That’s a smaller window than a temperate climate gives you, which is why sealing is one of the jobs where doing it yourself on a spare Saturday in July tends to go wrong.
What Intense Desert Rainstorms Do to a Driveway
Winchester doesn’t get much annual rain, but what it gets tends to arrive in a short, hard burst. That pattern is harder on pavement than a slow, soaking drizzle, because the ground can’t absorb the volume fast enough and water sheets across surfaces it would normally infiltrate. In a single storm, water can strip a season’s worth of joint sand out of a driveway, expose the base at the edges, and undermine the soil under any paver that wasn’t fully locked.
The pre-storm and post-storm routine we recommend is short:
- Before storm season, clear the low points. Sweep debris from the garage apron and any swale. A blocked low point turns a manageable runoff into a channel that finds the base.
- Check that the slope still sheds. Water should run off the driveway and away from the house, not toward it. If the grade has settled, that’s a repair priority.
- After a hard storm, inspect the edges first. The perimeter is where water enters the base. Look for exposed base material, sand washed into the street, and pavers sitting lower than they did before.
- Re-sand any joints the storm emptied. Don’t wait for spring. An open joint is an open door for the next storm.
If a storm leaves a channel through your driveway or a dip that wasn’t there before, get it looked at. That kind of damage usually means the grading or the base wasn’t built to shed the runoff, and it tends to repeat.
What a DIY Repair Can Fix, and What It Can’t
There’s a real line between what a homeowner can fix well and what needs a full re-pull, and knowing which side you’re on saves money both ways. Doing surface work on a base problem wastes effort and can make the eventual repair bigger, because sand and sealer laid over a failing base hide the problem while it gets worse.
What a careful homeowner can handle:
- Topping up joint sand on a stable driveway with a swept-in polymeric or washed sand.
- Replacing one or two cracked pavers where the base beneath is firm and the surrounding field doesn’t move.
- Treating efflorescence and scrubbing off light staining.
- Re-sealing a small, stable area if the water test says it needs it and the weather cooperates.
- Clearing debris and keeping the low points and swales open.
What needs a professional:
- Any pattern of movement spanning more than one or two pavers.
- Cracks that return after repair, because the movement under them is still happening.
- Settlement at the garage apron or against the house, which is a drainage and grading problem, not a paver problem.
- Heave or a visible wave in the field, which means the base is failing.
- Anything involving breaking out a section of the surface and rebuilding the base beneath.
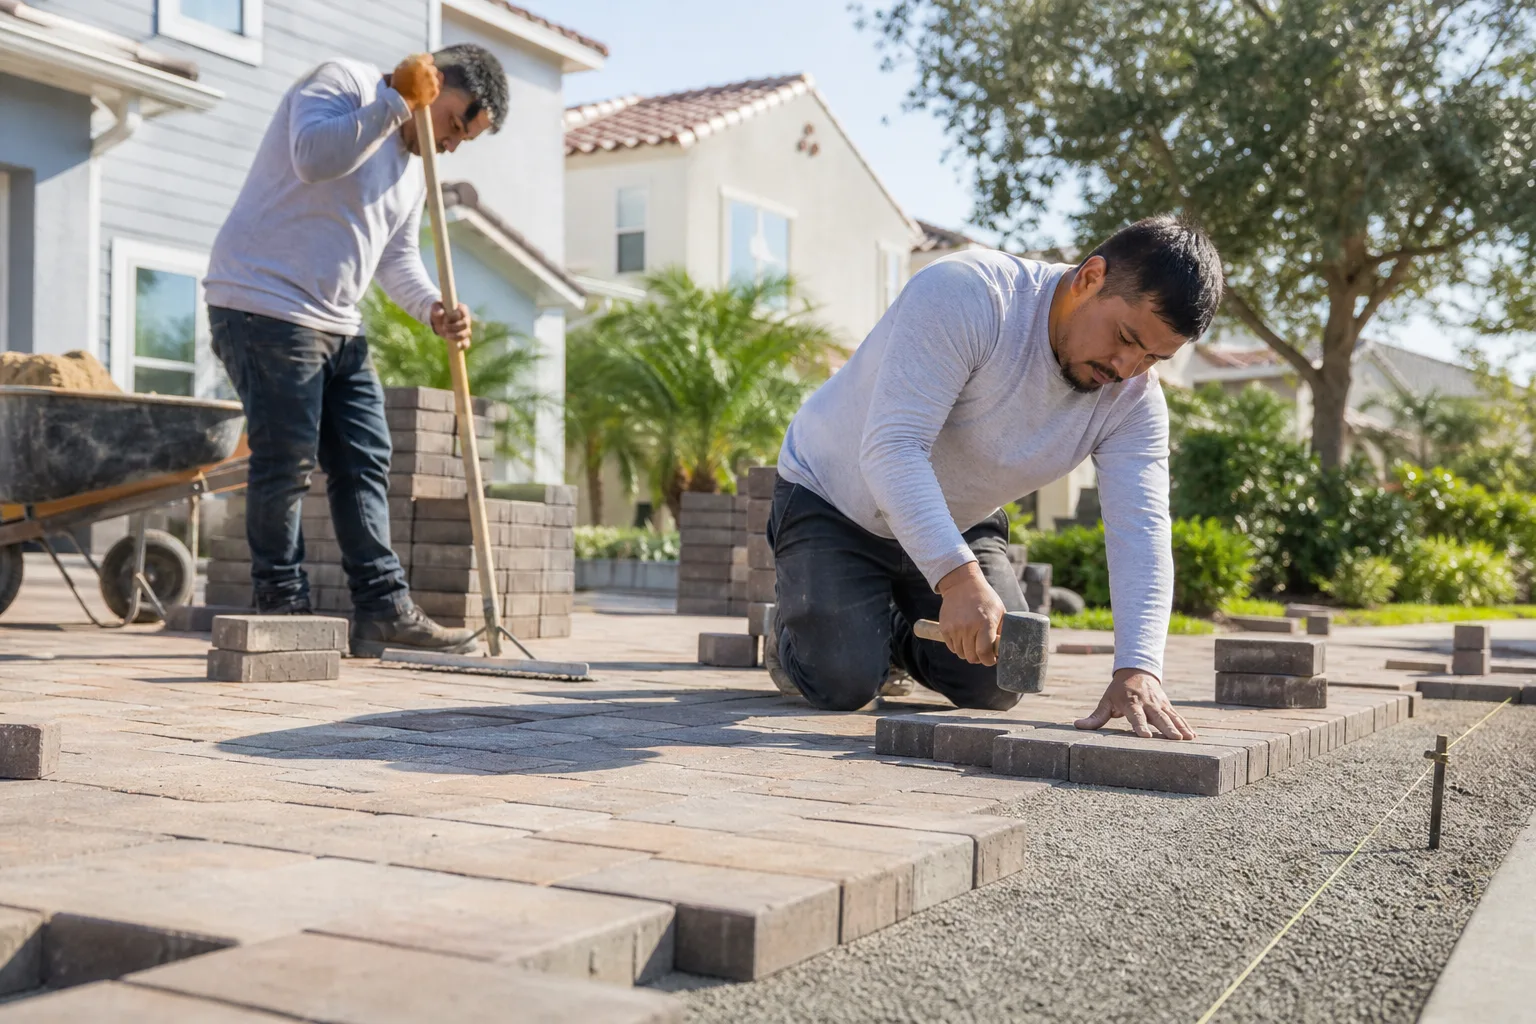
A full re-pull means lifting the field, breaking up and re-compacting the caliche layer where needed, rebuilding the aggregate base to depth, re-setting the pavers, and re-sanding. It’s a bigger job than a patch, but it’s the only repair that addresses the actual failure. When we scope a driveway rebuild in Winchester, we also plan the grading so the new surface sheds toward a defined low point rather than toward the house, which is why the job often touches landscaping edges too.
Choosing Replacement Pavers That Match and Last
When you do need replacement pavers, matching the existing field is the first thing to solve and the second thing people solve. Paver color varies by production run, and a paver from a different run can be visibly different even if it’s labeled the same color. The right approach is to identify the exact product and supplier of your existing driveway before buying anything. Paving manufacturers like Belgard, Unilock, Techo-Bloc, Tremron, Cambridge Pavers, and Oldcastle all make strong products, and the practical choice is whatever you can get in a compatible run and a compatible thickness without waiting on a custom order.
For a partial replacement, matching matters more than upgrading. That means matching:
- Thickness. Pull one paver and measure it. Thickness drives the base depth and the joint line, and a mismatched paver will sit proud or low.
- Color and blend. Bring the pulled paver to the supplier rather than trusting a sample board.
- Joint width. Joint spacing has to match the field or the replacement will look inset no matter what else is right.
For a full rebuild, the product choice matters more, and it’s worth choosing for durability in desert conditions and for how it handles a hard rainstorm. That’s where having real manufacturer options helps: the difference between one paver line and another is often in the edge and surface texture, both of which affect how the stone holds sand and how it performs in sun. Our driveway & pavers work runs across those manufacturers because the right product changes with the house, the traffic, and the budget. If your paver project is part of a larger exterior plan that includes a fence installation, we coordinate the two so the grading and edges of both are built together rather than one undoing the other.
What Driveway and Paver Maintenance Costs in Winchester
Typical maintenance work on a Winchester paver driveway runs from a few hundred dollars for a re-sand and re-seal to a few thousand for a section rebuild, and a full driveway replacement sits well above that. What you pay depends on square footage, how much joint sand has to be replaced, and whether the job is surface work or base work. These are estimates, not quotes. The written estimate sets the final price, and we put it in writing line by line so there are no change orders.
| Job | Typical Estimated Range | What It Involves |
|---|---|---|
| Joint sand top-up | $150 to $350 | Sweep-in sand on a stable driveway, small repairs to the field |
| Full re-sand | $300 to $600 | All joints refilled, polymer sand set and swept |
| Re-seal | $350 to $900 | Penetrating or film-forming sealer across the whole driveway |
| Re-sand and re-seal together | $500 to $1,200 | The combined maintenance job most driveways need every couple of years |
| Section repair (base rebuild) | $800 to $2,500 | Lift the affected area, rebuild the base, re-set pavers |
| Full re-pull | $3,000 to $8,000 and up | Lift the field, break up caliche where needed, rebuild base, re-set pavers |
The number that matters is whether you’re paying for surface work or base work. A driveway that passes the hollow-tap test and just needs sand and sealer is a maintenance job. A driveway with a wave in it is a base job, and putting sealer on it will only hide the problem for a season. Knowing which one you have before anyone quotes you is the whole point of the tests above.
Common Mistakes to Avoid
- Sealing a driveway that’s still moving. Sealer over a failing base traps moisture and hides the problem while it gets worse. Fix the movement first, then protect the surface.
- Trusting the water test only on the edges. The traffic lanes between the street and the garage age fastest. A homeowner who only tests the perimeter can end the summer with a driveway that looks sealed and lets water in.
- Laying sealer on a hot afternoon. Sealer applied to pavement that’s been in the Winchester sun all day cures unevenly and can cloud or blister. Early morning on a dry forecast is the workable window.
- Patching a single paver when the whole section is moving. One replacement paver in a failing field will rock loose again within a season. If the pavers around it move, the replacement is being set on a bad base.
- Skipping the spring joint-sand check. Joint sand is the interlock. When it’s gone, the pavers grind against each other and wear at the edges long before the stone itself has failed.
- Ignoring the garage apron. Settlement where the driveway meets the slab is the most consequential place for a drainage problem, because water pools there and works toward the house.
- Buying a replacement paver without matching the run. The same color from a different production run may not match the existing field, and the mismatch is permanent. Pull a paver and match it in person.
See the difference
 Before
 After
 Before
 After
 Before
 After
When to Call a Professional
Call a professional when the movement spans more than one or two pavers, when a crack returns after repair, when there’s a wave or dip that wasn’t there before, or when water is pooling against the garage apron or the house. Those are the signals that the problem is in the base or the grading, and no amount of surface work will fix either. If you’re unsure, ask for an assessment, because a driveway that passes the hollow-tap test and just needs a re-sand is a small job, and a driveway that needs a re-pull is a very different conversation. It’s worth knowing which one before you spend anything.
Construction Winchester offers free estimates in Winchester, with written line-item quotes and no change orders, on driveway and paver work from a single rebuilt section to a full driveway replacement. Call (888) 345-2603. We answer 24/7. Fast dispatch from 7am to 7pm, Sunday through Friday.
Frequently Asked Questions
Every two to three years is the practical interval in a desert climate, shorter than most manufacturer labels suggest. UV exposure is continuous and surface temperatures run hot, which ages the sealer faster than a temperate climate would. Don’t seal on a calendar alone. Run the water test each spring and let the result tell you. Call (888) 345-2603 for an exact quote on re-sealing, and the estimate is free.
Yes, and it’s the most common early problem in Winchester. Joint sand is what locks the pavers together. When it’s gone, the pavers rock slightly against each other and grind at the edges, and an empty joint is an open door for water to reach the base. A swept-in sand top-up is inexpensive if you catch it early. Wait a couple of seasons and it becomes a repair.
Sub-base compaction failure, most often over caliche soil. Caliche is cemented and sheds water instead of absorbing it, so if the installer didn’t break it up and compact through it properly, the base can’t drain and can’t stay locked. A hard rainstorm saturates the base, the soil beneath softens, and the field sags. The pavers are almost never the weak link.
No. We quote the job in writing with line items and fixed pricing, and that written estimate sets the final price. Change orders only come up if the scope changes at your request. We don’t do surprise charges after the work begins. Call (888) 345-2603 to schedule a free estimate.
You can reasonably replace one or two cracked pavers and top up joint sand on a stable driveway. You can’t properly fix a section that’s moving without breaking out the surface and rebuilding the base beneath, and doing it badly leaves the problem in place under new sand. If the movement spans more than a paver or two, have it looked at.
Yes, and the preparation is small. Clear debris from the garage apron and low points so runoff has a clean channel, confirm the slope still sheds water away from the house, and re-sand any joints that look low. Winchester gets a lot of its annual rain in short, hard storms, and water that can’t drain finds the base.
Most driveway replacements and grading changes of any consequence are worth checking with the city before work starts, and permit requirements vary by project in Winchester. We handle the permit process and inspection on jobs that need one. Our technicians have up to 14 years of experience, and we don’t break ground on a job that requires a permit until it’s in hand.
The Bottom Line
Your driveway is going to fail in predictable ways here, and that’s good news, because predictable failures can be caught early. Inspect for heave and joint-sand loss in spring, test your sealer with water instead of your eyes in summer, keep the low points clear before storm season, and watch for the two-paver movement that tells you the base is failing. Surface work is maintenance. Base work is a rebuild. Knowing which one you’re looking at, before anyone quotes you, is the single most useful thing this checklist can give you. When you’re ready for the assessment, or when the driveway is part of a bigger project like a fence installation or an addition, that’s one contractor and one plan. Call (888) 345-2603 for a free estimate. We answer 24/7. Fast dispatch from 7am to 7pm, Sunday through Friday, and we’re closed Saturday.
Written by the team at Construction Winchester.